

Campaigns
Creating Campaigns
Requirements
Section titled “Requirements”The Marketing & Vendor Configuration set-up must be complete before creating campaigns. See Marketing & Vendor Configuration.
Creating Campaigns
Section titled “Creating Campaigns”-
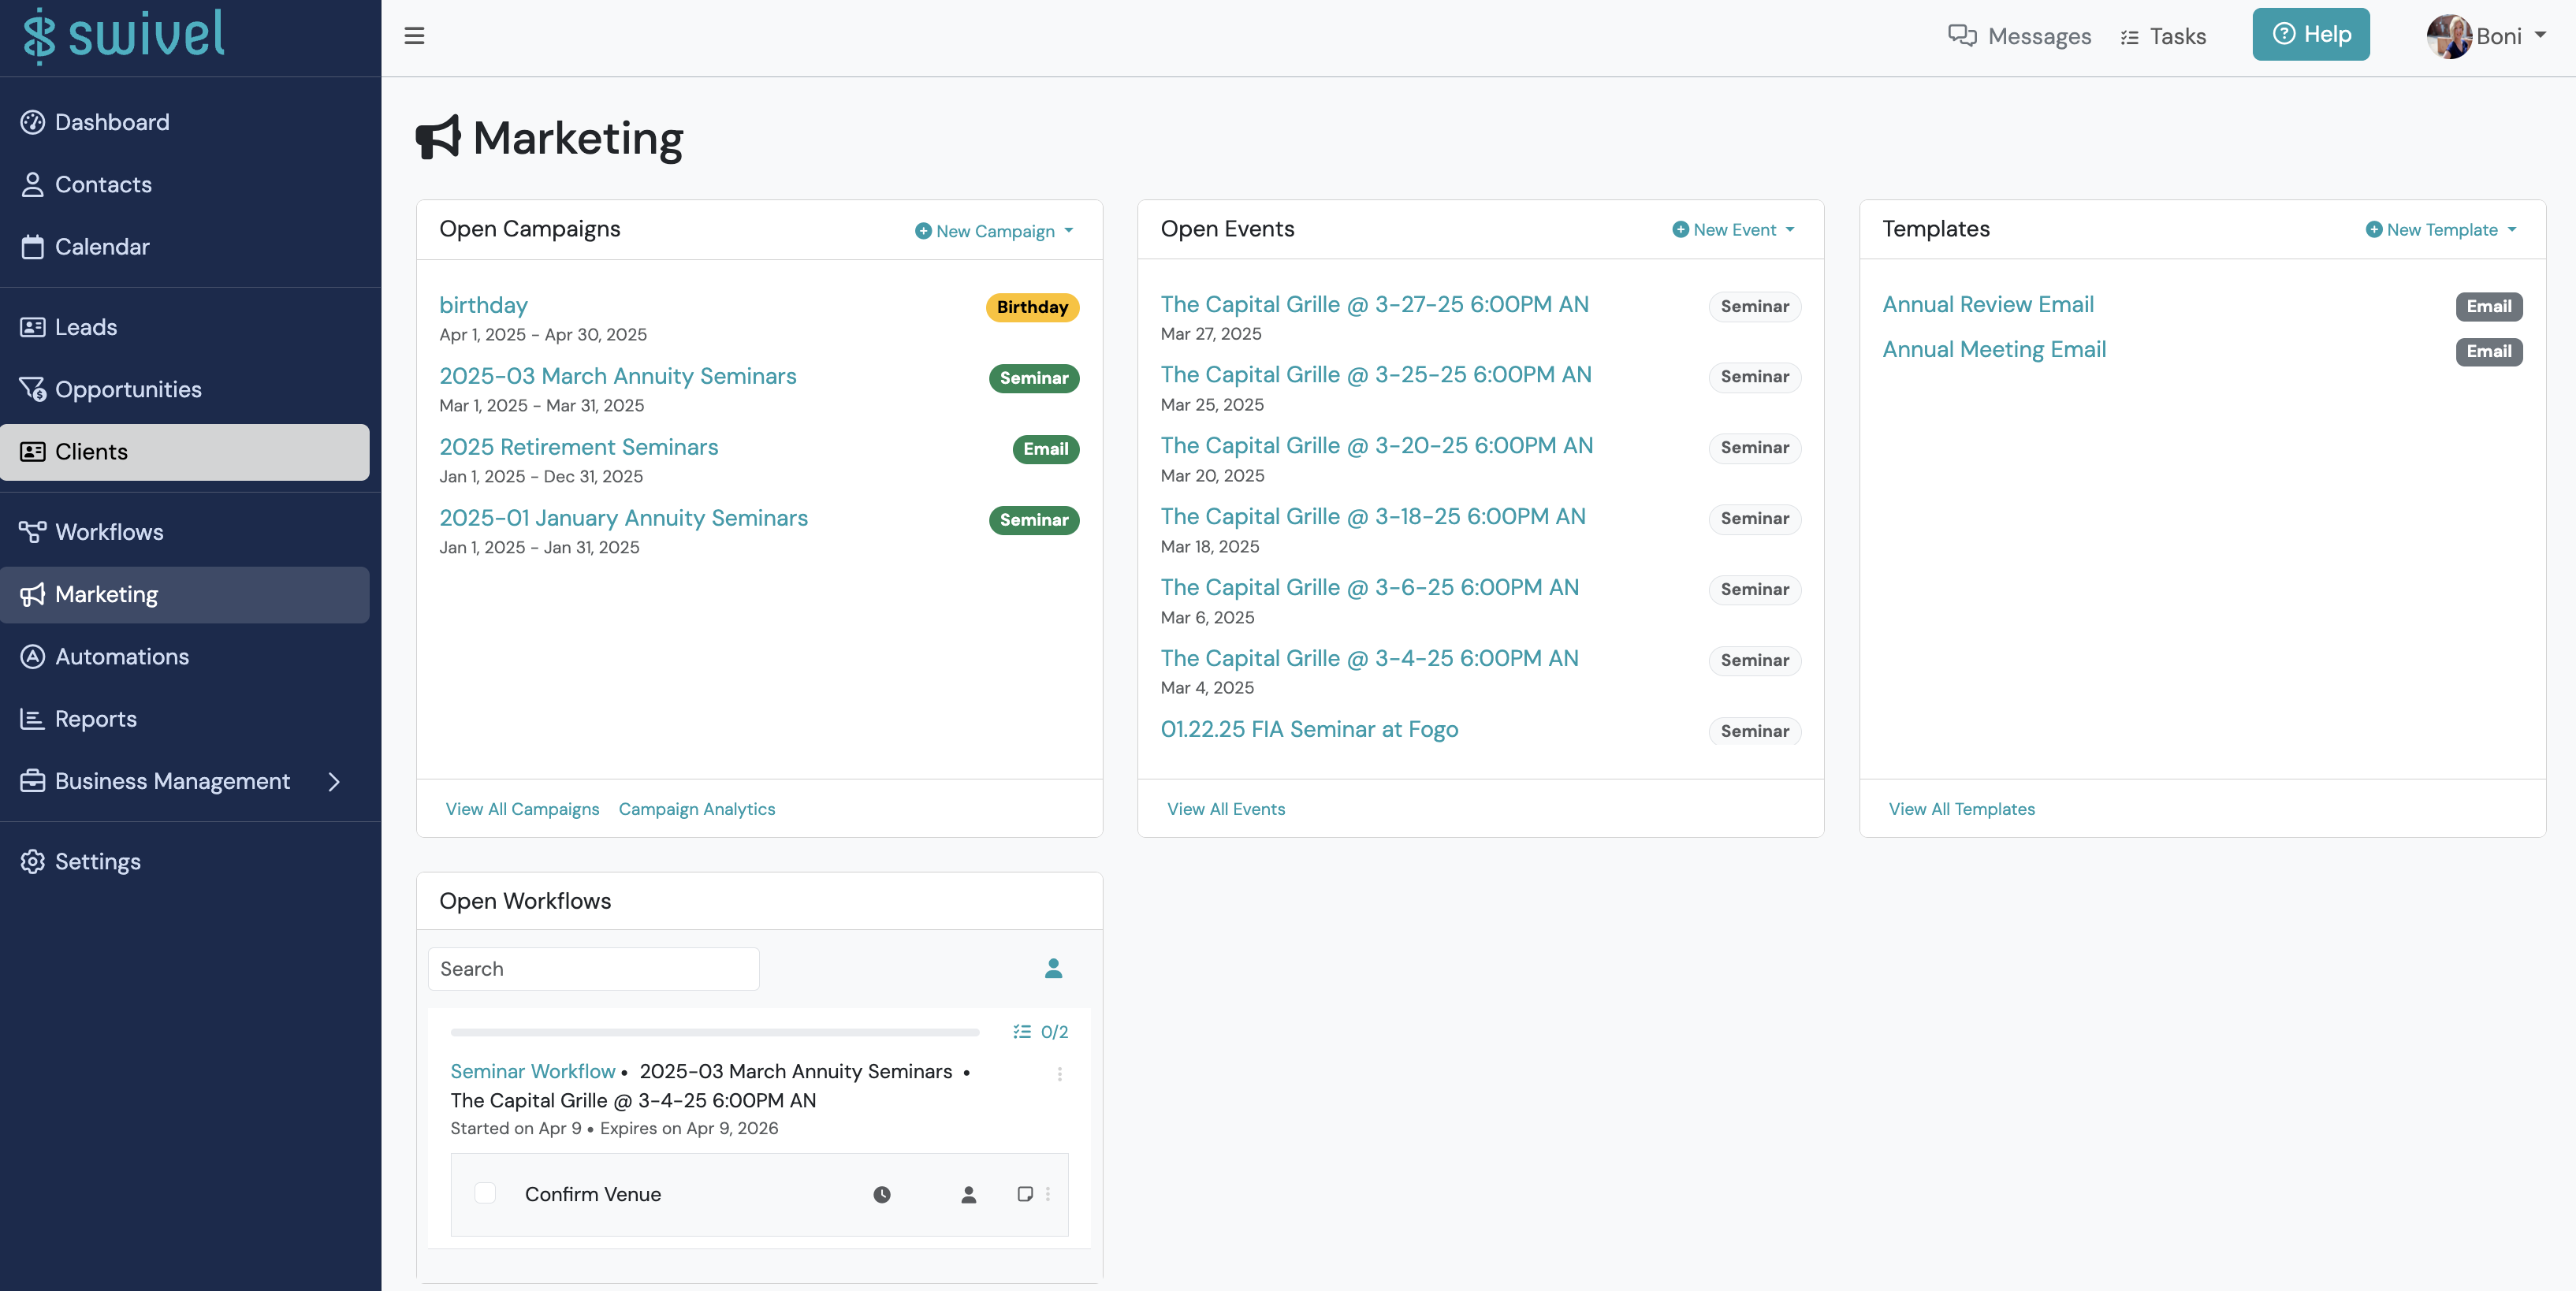
From left side navigation menu, go to Marketing.
-
Go to Open Campaigns tile > click +New Campaign
-
From drop-down selection menu, select the desired Campaign Type, or +Create Campaign Type to create a new campaign type via dynamic entry.
-
Complete New Campaign form pop-up window.
- Status: Options include Pending, Open, Closed, Expired
- Status Date
- Name
- Description optional
- List: This is where you will attach the contact list for outbound communications.
- Start
- End
- Target Demographic optional
- Target Demographic size optional
- Marketing Piece optional
- Lead Vendor optional
- Office optional
- Zones optional
- Tags optional
-
Click Save button.
Adding Appointments to Campaigns
Section titled “Adding Appointments to Campaigns”-
From left side navigation menu, go to Marketing.
-
Go to Open Campaigns section and select a campaign to edit or click View All Campaigns link to see full campaign selection.
-
From Campaign page, go to Appointment section.
-
Click +New Appointment button
-
From drop-down selection menu, select the desired Appointment Type.
-
Complete New Appointment form pop-up window.
- Households
- Contacts automatically includes both the primary contact and secondary contact
- Event optional
- Producer *REQUIRED
- Status
- Subject *REQUIRED
- Location
- Start Date & Time *REQUIRED
- Duration *REQUIRED
- Description optional
-
Click Save button.
Adding Additional Costs to Campaigns
Section titled “Adding Additional Costs to Campaigns”-
From the Campaign page, go to the Additional Costs section.
-
Click +New Additional Cost button.
-
From drop-down selection menu, select the appropriate Additional Cost Type.
-
Complete New Additional Cost form pop-up window.
- Date
- Amount
- Vendor
- Name optional
- Description optional
-
Click Save button.
Adding Lists to Campaigns
Section titled “Adding Lists to Campaigns”- From left side navigation menu, go to Marketing.
- Go to Open Campaigns section and select a campaign to edit or click View All Campaigns link to see full campaign selection.
- From Campaign page, go to Lists section.
- Click +New List button > select Dynamic List.
- From New Marketing List form pop-up window, go to Saved Filter.
- Select the desired Saved Filter.
- Click Save button.
Adding Channels to Campaigns
Section titled “Adding Channels to Campaigns”-
From left side navigation menu, go to Marketing.
-
Go to Open Campaigns section and select a campaign to edit or click View All Campaigns link to see full campaign selection.
-
From Campaign page, go to Media Channels section.
-
Click +New Channel button
-
From drop-down selection menu, select the desired Channel Type*.
-
Complete New Channel form pop-up window.
-
For Emails
- Name
- Description optional
- Marketing List
- Scheduled Delivery Time
- Sender Name
- Sender Email
- Reply To Name
- Reply To Email
- Subject
-
For Text
- Name
- Description optional
- Marketing List
- Scheduled Delivery Time
-
-
Click Save button.
Creating and Sending Emails
Section titled “Creating and Sending Emails”Creating Emails
Section titled “Creating Emails”- From left side navigation menu, go to Marketing.
- Go to Open Campaigns section and select a campaign to edit or click View All Campaigns link to see full campaign selection.
- From Campaign page, go to Media Channels section and select an email to edit.
- From Email Channel page, go to Template section.
- Click Edit Template button.
- From Edit Email Template pop-up window, use the Email Editor tool to format and create your email.
- Click the Save button.
Sending Scheduled Emails
Section titled “Sending Scheduled Emails”Once you’ve completed creating and finalizing your email, now it’s time to schedule.
- From Email Channel page, click Scheduled Emails button.
- From Schedule Emails for Delivery pop-up window, confirm Scheduled Delivery Time.
- Click Schedule Email Delivery button.
Adding Event Costs to Events
Section titled “Adding Event Costs to Events”-
From left side navigation menu, go to Marketing.
-
Go to Open Campaigns > select desired Campaign or click View All Campaigns hyperlink to view all and select.
-
From the Campaign page, go to Events Cost section.
-
Select the desired Event.
-
Go to Event Costs section.
-
From drop-down selection menu, select the appropriate Cost Type.
-
Complete New Event Cost form pop-up window.
- Date
- Amount
- Vendor
- Name optional
- Description optional
-
Click Save button.
Video Tutorial: Features of the Event Page
Section titled “Video Tutorial: Features of the Event Page”Includes adding attendees to a specific event, creating appointments and opportunities directly from the attendee tile and more.