Product
Product Statuses
Product Statuses represent the effective status of a given policy or account at their respective institution. Also referred to as policy status or account status.
Manage Product Statuses
Section titled “Manage Product Statuses”Creating Product Statuses
Section titled “Creating Product Statuses”Creating new Product Statuses is a two-step process. First, you will create the desired Product Status and then attach it to the corresponding Product Type.
Add a Product Status
Section titled “Add a Product Status”-
From the left-side main menu, click the Settings tab > Advanced Setup
-
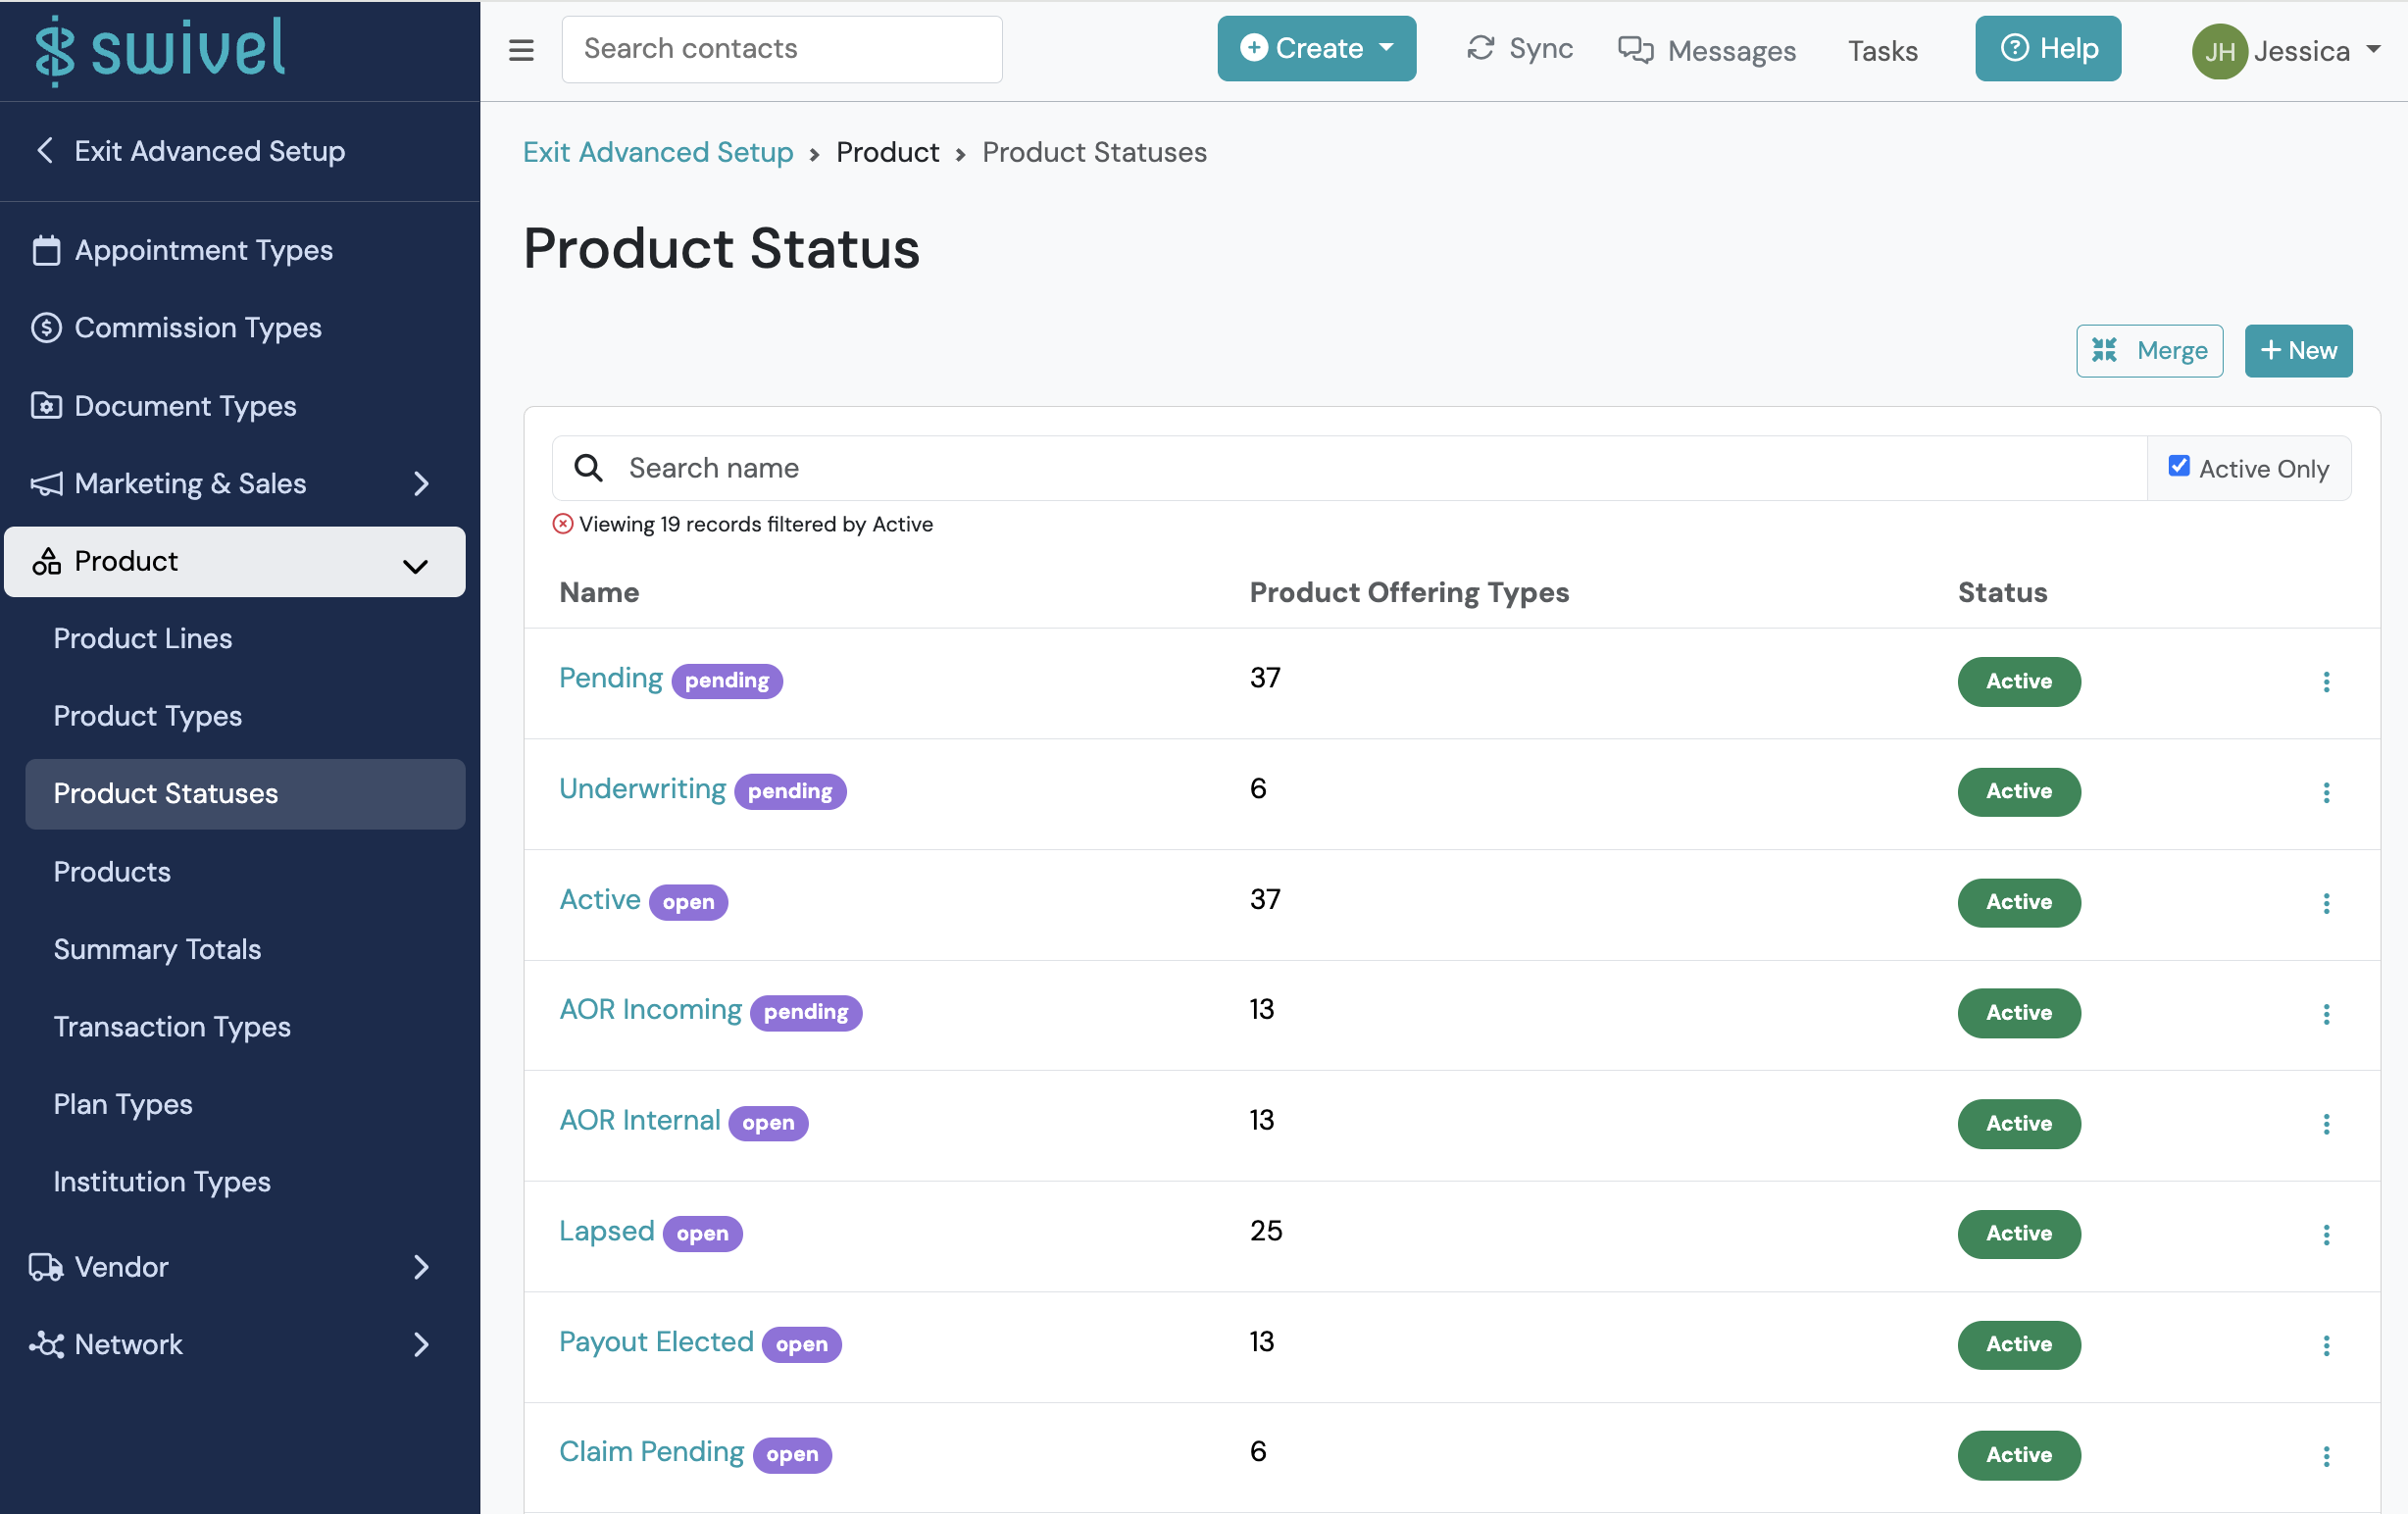
Click the Product section to expand > click Product Statuses
-
From the Product Statuses page, click

-
Complete the New Product Status form
- Name
- Status Indicator
- Description
- Position
-
Click Save.
-
The new product status will now appear on the Product Status list.
Product Status Definitions
| Field Name | Definition |
|---|---|
| Name | The name of a product status (ex. Active, Surrendered). This can also be the same as Status Indicator. |
| Status Indicator | The core state of a given product status. Available options are Pending, Open, Closed, Expired and Lost. |
| Description | Additional and helpful information about the product status. |
| Position | The order in which product statuses should display from a drop-down selection me |
Attaching Product Types to a Product Status
Section titled “Attaching Product Types to a Product Status”Once you’ve created a new product status or need to edit an existing one, the final step is to attach a product type(s).
-
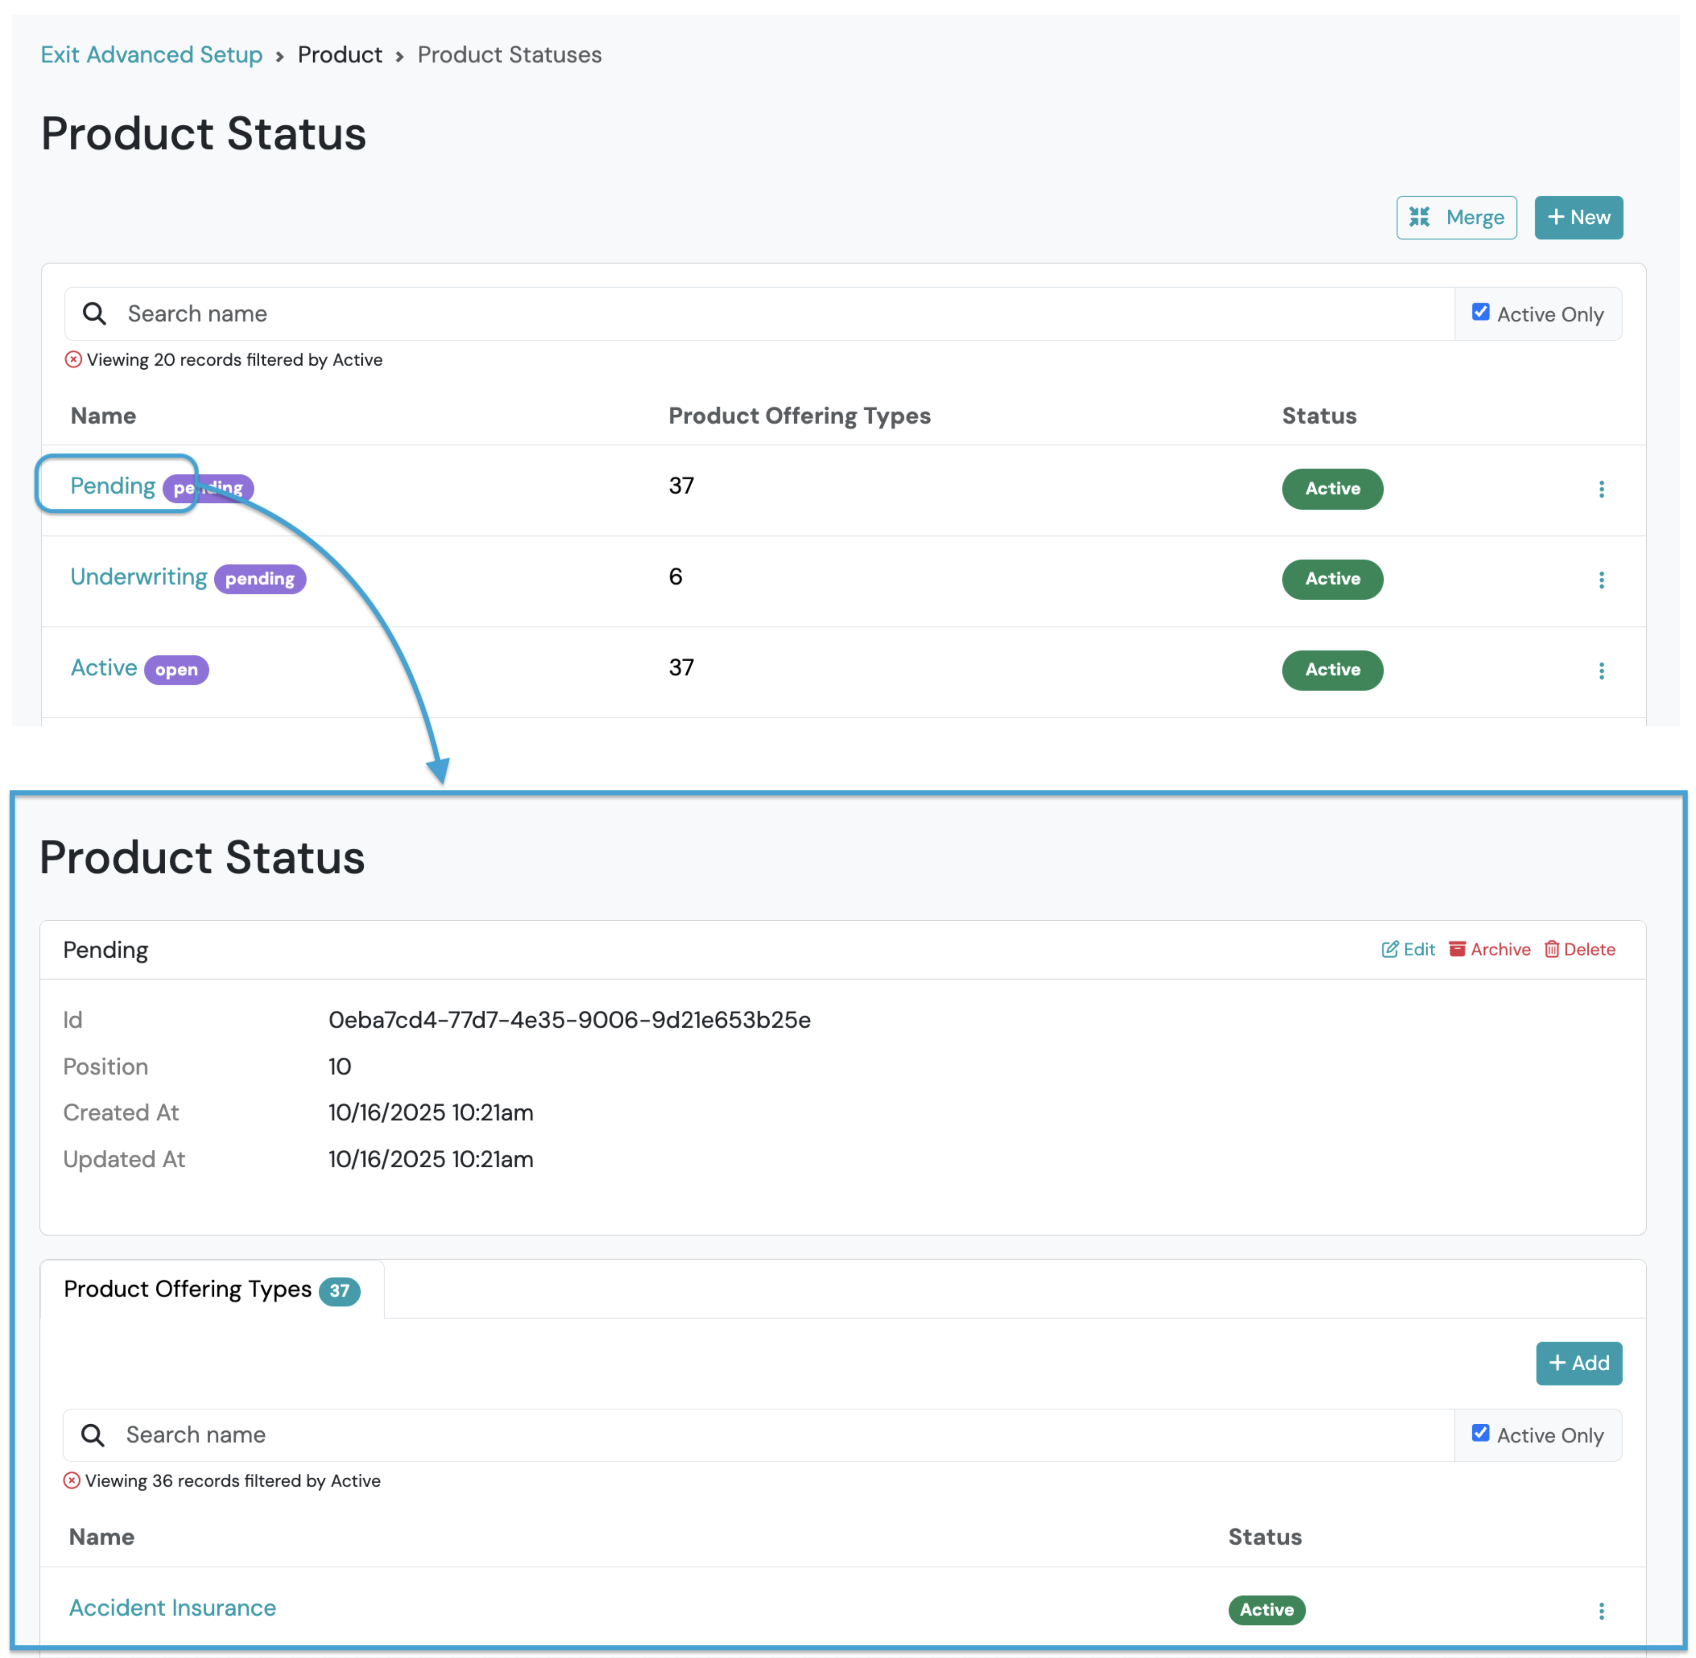
From Product Status page, click on a Product Status name to navigate to full details page.
-
All associated or currently attached product types will be listed Product Offering Types tab.
-
Click +Add button to attach a new Product Type.
-
Go to Product Offering Type field > select or search a specific product type.
-
Click Save.
-
Repeat steps 4 and 5 to attach additional product types.
Detaching Product Types from a Product Status
Section titled “Detaching Product Types from a Product Status”-
To detach a product type from a product status, navigate to the full Product Status details page.
-
Go to the Product Offering Types tab > search or find the specific product type listed below.
-
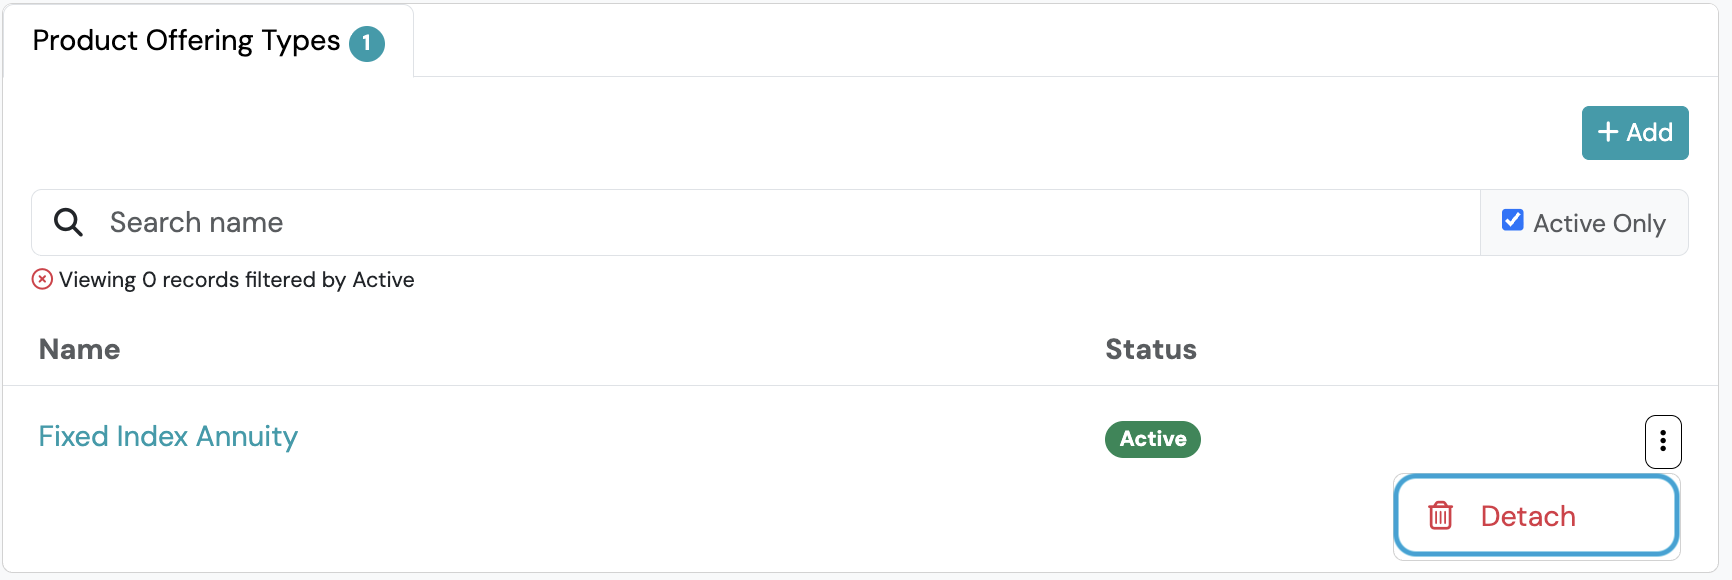
Click the Action Menu icon > select Detach.
-
Repeat steps 3 to detach additional product types.
Editing Product Statuses
Section titled “Editing Product Statuses”-
From the left-side main menu, click the Settings tab > Advanced Setup
-
Click the Product section to expand > click Product Statuses
-
From the Product Statuses page, find the desired product status.
-
Go to the Action Menu icon > select Edit.
-
Update the Edit Product Status form
- Name
- Description
- Position
-
Click Save.
Deleting Product Statuses
Section titled “Deleting Product Statuses”- From the left-side main menu, click the Settings tab > Advanced Setup
- Click the Product section to expand > click Product Statuses
- From the Product Statuses page, find the desired product status.
- Go to the Action Menu icon > select Delete.
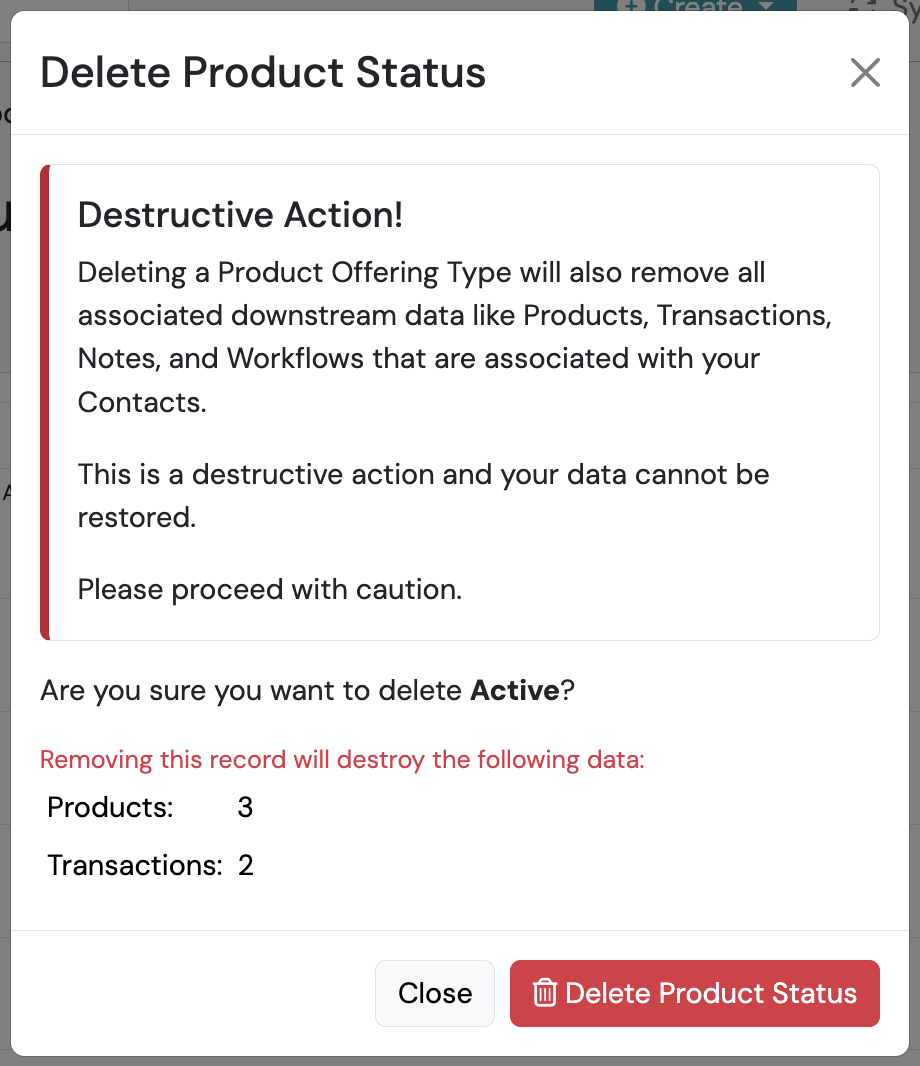
- Delete confirmation pop-up appears.
- Review and confirm.
- Click Delete Product Status.