

Settings Overview
IP Address Allowlist
This article walks through how to restrict access to your Swivel account by allowing only specific IP Addresses
If you are an Owner or Manager user role in Swivel, you can setup which IP Addresses to allow access to your Swivel account.
Step 1: Enable IP Restriction
Section titled “Step 1: Enable IP Restriction”- Navigate to Settings from the left side navigation
- Select IP Allowlist
- In the IP Restriction section, select “Disabled”

Step 2: Add Allowlist Entries
Section titled “Step 2: Add Allowlist Entries”- Navigate to Settings from the left side navigation
- Select IP Allowlist
- Select +New Entry in the top right hand corner to add a new address entry
- Enter Name (ex: Main Office, Remote Worker, etc)
- Enter IP Address / CIDR value (see below for supported formats)
- Click Add Entry
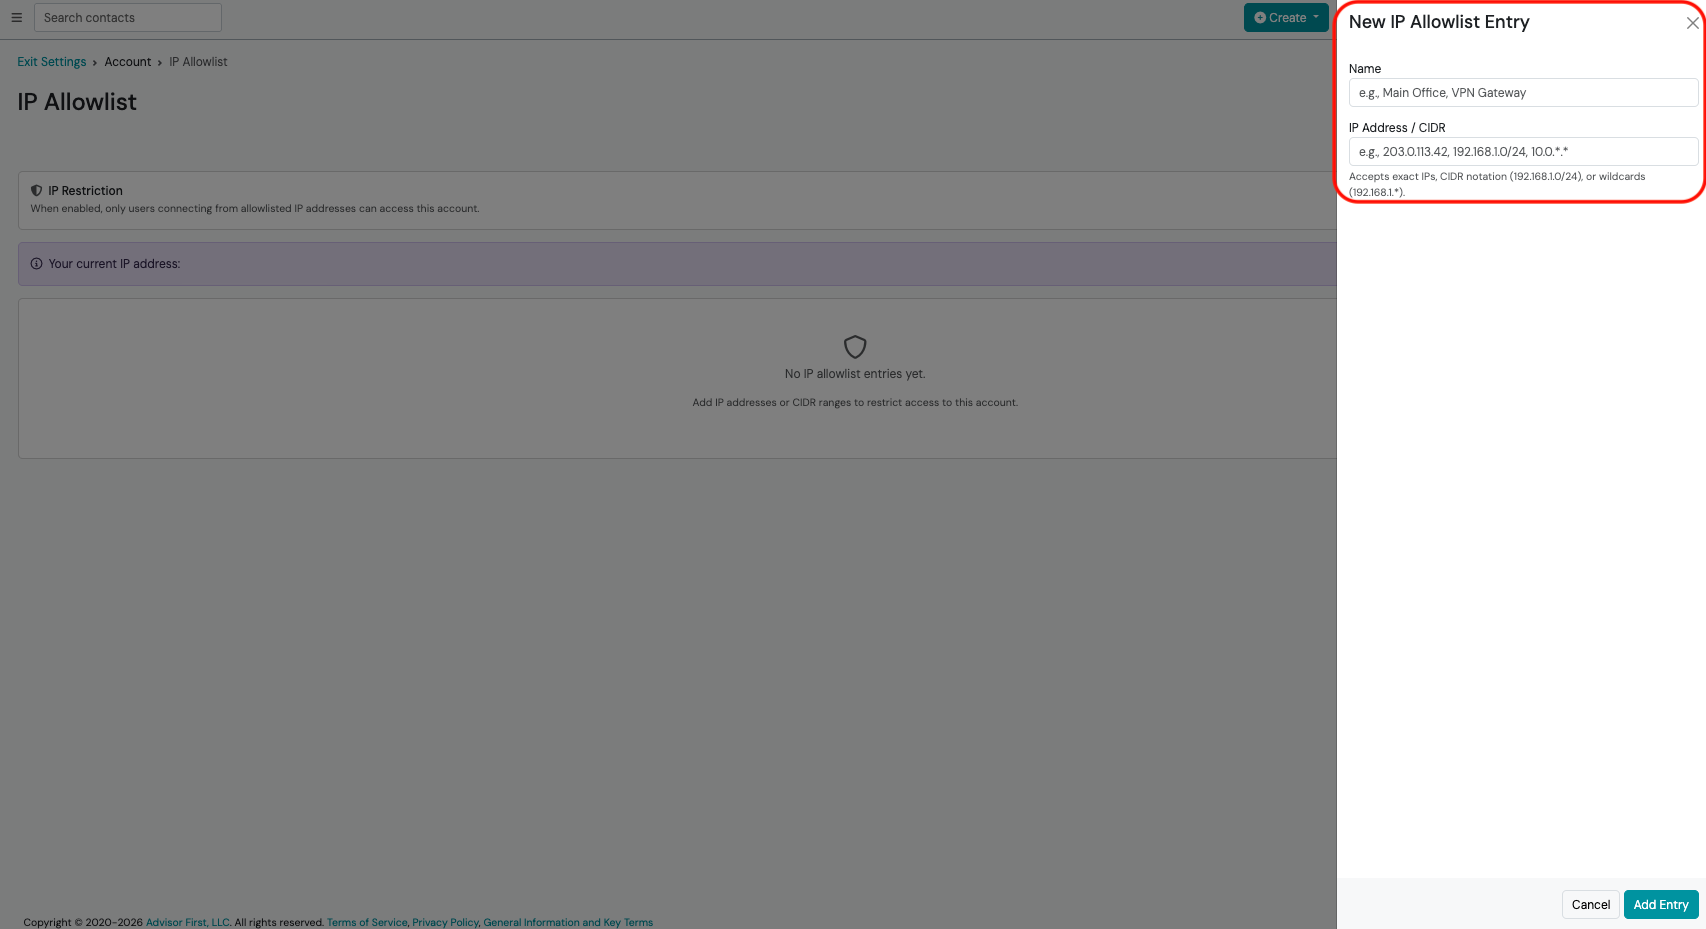
Supported Address formats
Section titled “Supported Address formats”| Format | Example | Notes |
|---|---|---|
| Single IP Address | 203.0.113.42 | Allows exactly one host. IPv4 and IPv6 are both accepted |
| CIDR range | 192.168.1.0/24 | Allows an entire network block. The minimum preferred length is /16 for IPv4 and /64 for IPv6 |
| Wilcard notation | 10.0.*.* | Convenience syntax that is automatically converted to its CIDR equivalent on save |
Editing and Removing Entries
Section titled “Editing and Removing Entries”Once an address is listed in the entries table, you can navigate to the action menu next to each entry on the right.
- Pencil Icon - edit entry’s name, IP address or active state
- Trash Icon - opens confirmation to remove the entry
If I have entries stored but then disable access, are my entries perserved?
Yes if you disable IP Restriction your previously stored entries will be preserved if you re-enable
What does a user see if they attempt to login at a restricted address?
When attempting to login they will see a red shield icon and “Access Restricted” upon login. They will be prompted to contact their account administrator (owner) for more information.
Can i have different rules for different users?
No. The allowlist applies to every user in the account. A new entry will need to be added to accommodate a single user.